Pages

Tuesday, April 20, 2010

Flowers from Bird Wings?

So here is a fun way to use the 2-Step Bird punch and not make a bird. You can make tulips! I saw this idea on one of the swaps I received at the Milwaukee Regional I attended last week. I will be posting pics from that in a few days.


Punch out three of the little wings and layer them on top of each other. I used one of the new core colors - Cherry Cobbler. It is a beautiful rich red and it's going to be one of my new favorites, along with Marina Mist. See how well they go together...


Stamps:Bella's Bloom Ink: Chocolate Chip, Baja Breeze, Riding Hood Red
Cardstock:Early Espresso, Always Artichoke, Marina Mist, Cherry Cobbler
Accessories: Extra Large 2-Step Bird Punch, Top Note Bigz Die, Distressed Texturz Plate,
Sponge Dauber, Whisper White Grosgrain
, Glue Dots, Tombow

The stems are the leaf from the bird punch. I cut the Marina Mist Top Note in half and sponged the edges with Baja Breeze and sponged the edges of the tulip petals with Riding Hood Red. The Always Artichoke strip was run through the Big Shot with the Distressed Texturz plate.

Monday, April 19, 2010

Color Renovation

I received my New Color samples from the Color Renovation. I really like these new colors, they are so yummy and vibrant. I am really excited about the new color collections.


(Color Renovation jpeg by Marie S)

I only wish I had more paper to work with right now and the coordinating inks, ribbons, accessories... It's going to seem like forever before we can buy them.

Since I didn't have the matching ink to work with, I had to improvise a little bit, but I used colors within the same collections and I think they worked pretty well. The Early Espresso is a blackish brown or a cool brown.

Be sure to click on the pictures to get a closer look at these luscious new colors.


Cardstock:
Early Espresso, Naturals White Ink: Sahara Sand, Chocolate Chip, Baja Breeze
Stamps: Pocket Silhouettes
Accessories: Linen Thread, Clip Assortment


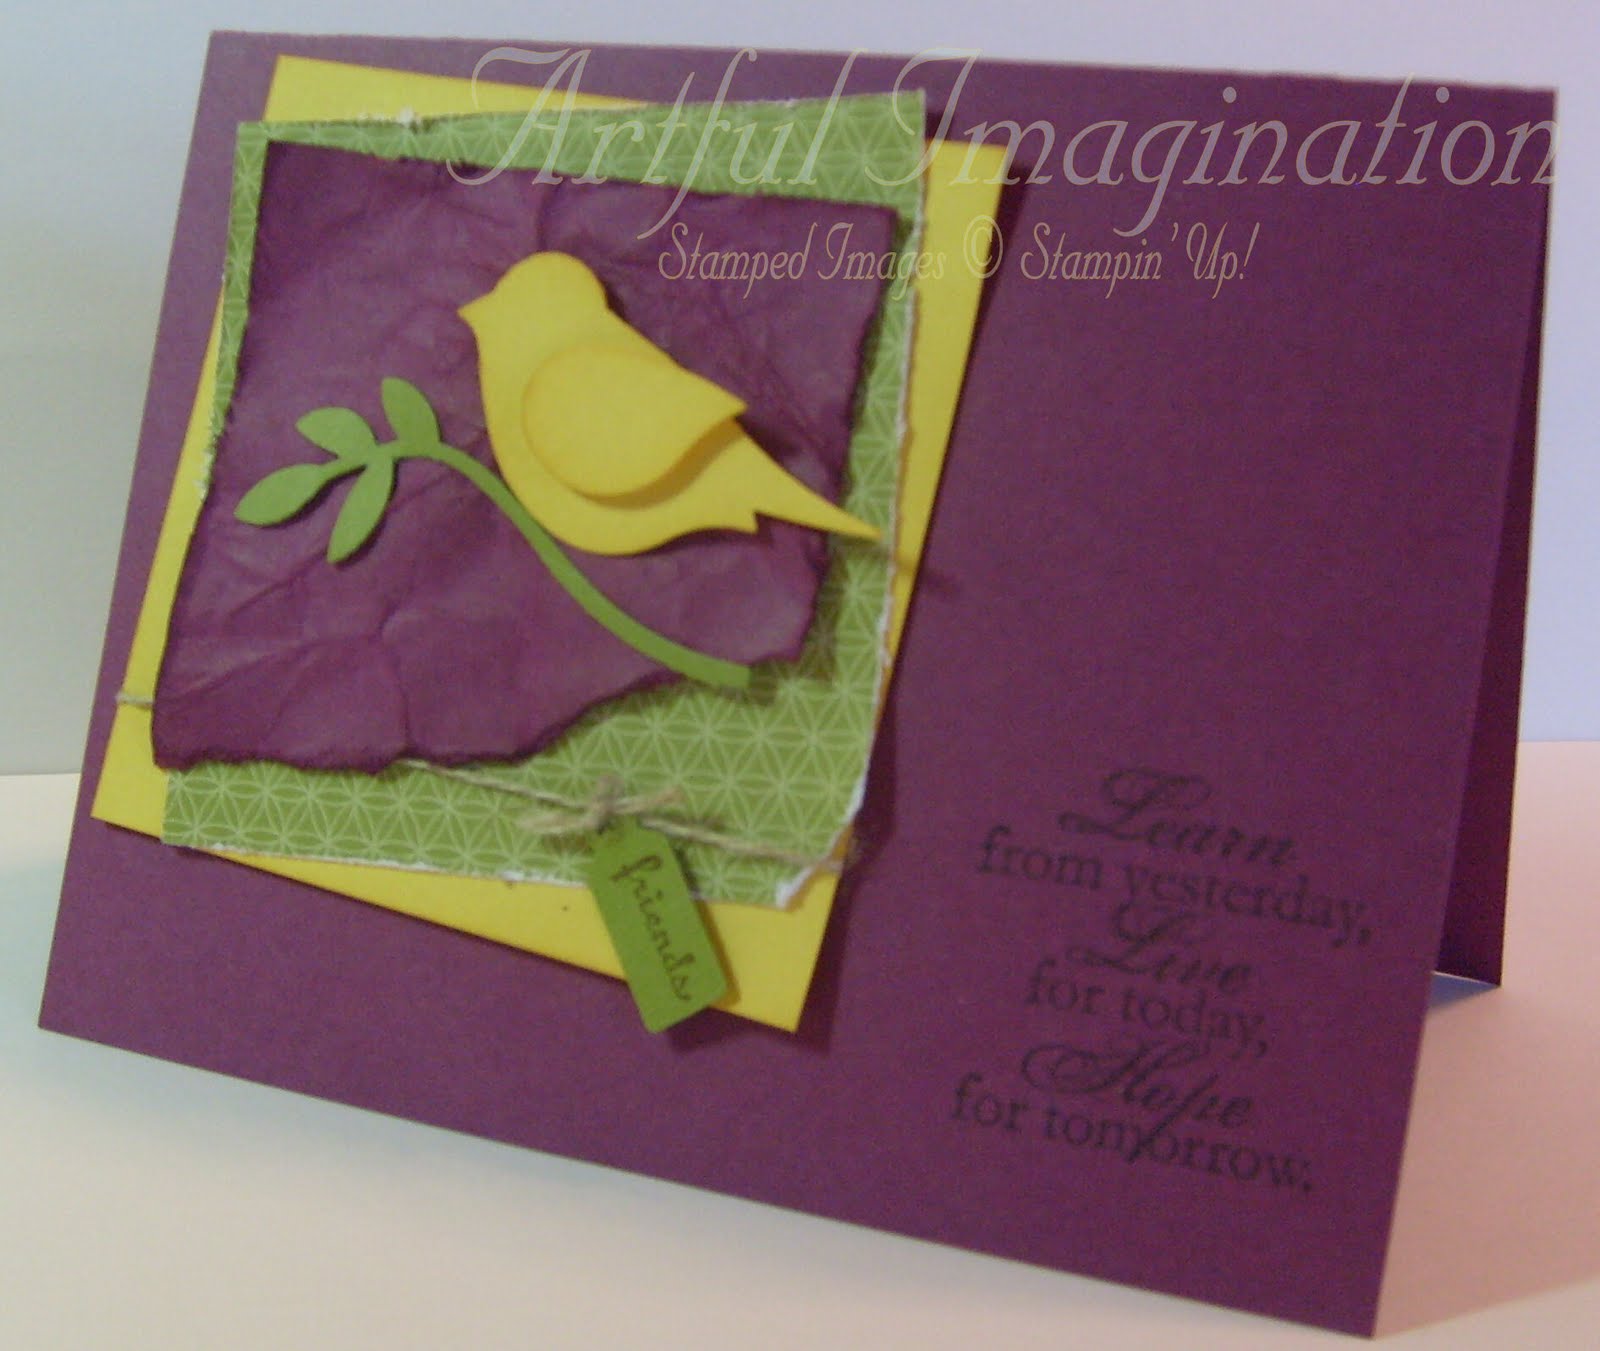
I finally got my extra large 2-step bird punch!!! Yeah, I am loving this punch. Make sure you order one before the Mini ends. I have some other fun samples to show you using this punch. I sponged the edges of the Daffodil Delight bird and his wing with So Saffron ink, then popped his little wing up with a dimensional.

Cardstock: Daffodil Delight, Rich Razzleberry, Old Olive
Ink: Chocolate Chip, Rich Razzleberry, So Saffron Stamps: Tiny Tags, Sense of Time
Accessories:2-step Bird Punch, Medium Jewelry Tag Punch, Linen Thread, Cottage Wall DSP,Dimensional, Sponges


Since we only received one sheet of each of the New Colors, most of the samples are ATC or mini size cards, so I could make more samples and show you lots of wonderful color combos. I ran Riding Hood Red ink over the edges of the butterfly and across the embossing. It goes wonderfully with the Cherry Cobbler paper. The Cajun Craze is a nice vibrant rust color

Cardstock: Cajun Craze, Cherry Cobbler, More Mustard, Naturals White
Ink: Riding Hood Red, Chocolate Chip, More Mustard Marker Stamps: Wings of Friendship (Hostess)
Accessories:Beautiful Wings Embosslits, Linen Thread, Vintage Brads, Mat Pack, Sponge Dauber

The butterfly embosslit is also in the Occasions mini, so make sure you get it quick. Check back tomorrow to see more new color samples and a fun way to use the 2-step bird punch to make something other than a bird!

Enjoy!

Monday, March 1, 2010

Paper Quilting

These are some paper quilting cards I made for my Mom, who is an actual quilter, for her birthday. The maple leaf is one of her favorite quilt designs. The card base is Kraft and I used Bella Bleu dsp to make the leaf pattern.


For these cards I used the retired 2009 SAB designer paper Delicate Dots and Whisper White textured cardstock for the base. Which worked great, as her favorite colors are yellow and blue. I had every intention of making these well ahead of time and researched patterns that I thought would convert easily to cards, as I am not a quilter myself. However, as seems to be my normal "style", I waited until the last minute, so I needed some quick inspiration and found some wonderful samples on SCS here and here. I changed up the paper and colors and was able to get these done fairly quickly.

For the sentiments I used Well Scripted from the Spring Occasions Mini, as well as one of my favorite sets Sincere Salutations.

These were a little more difficult to make than I had thought, but after the first one it wasn't too bad, although I don't think I will be taking up quilting as a hobby. :)

Enjoy!

Tiny Vintage Tags


I really like the new punches that SU has come out with! The little tag punch and Tiny Tags stamp set are so fun to use. I think the tags add that perfect little touch to your cards. And while I am generally not a fan of a scalloped edge, I do like the new Scallop Trim Border punch. What's really great is that right now, you can get this punch Free during Sale-A-Bration. It has a matching corner punch in the Occasions Mini.

For these I used a card base of Kraft cardstock. The Bella Bleu dsp lent itself nicely to the color scheme of yellow and blue. I was pleasantly surprised at how much I really like this DSP. I have had it for quite a while and this is the first I have used it. It has some gorgeous patterns and a great muted/natural color scheme.

The flowers are from the Vintage Vogue stamp set. Would it surprise you that I absolutely adore this set???? For those that know me probably not. :) I stamped the large flowers in So Saffron on Barely Banana cs, the smaller flowers are stamped in Barely Banana on banana cs and Brocade Blue on Kraft cs, the leaves are also stamped on Kraft cs in Always Artichoke. I distressed the mat pieces and inked the edges of all the pieces in coordinating colors.

I couldn't find my Natural Linen thread (need to do some organizing!) and I thought the Hemp Twine was too thick for the look I was going for, so I "split" the Hemp Twine into two strands to attache the tag. It worked great, plus it stretches the amount of twine I have!!

For this one I used the masking technique. I stamped the large flower from Vintage Vogue in Rich Razzleberry and the leaves in Old Olive on Naturals White cs. I then masked them with a post-it cut into each shape and stamped over that with the French Filligree background stamp in Soft Suede. The small flower and scalloped edge are Crushed Curry, the mat is Rich Razzleberry and the base is Soft Suede.

Sunday, November 22, 2009

Mint Goodness

Here are some cute little peppermint patty treat baskets.

I made these for the last of the craft fairs, for this year anyway, that I participated in this past Saturday. These make wonderful little gifts for teachers, classmates, or co-workers. They can also be used for place settings at Holiday tables or to hang on your tree as a tasty ornament. :)

I used Cambria's easy to follow directions to complete these in no time at all.

Have a great week!!

Kym

Thursday, November 12, 2009

Razzleberry Heaven

Sorry I missed posting last week! I've been working on several projects for two upcoming craft fairs and my 12 Day Holiday Extravaganza.

Purple has always been my favorite color and pretty much in any shade too. I have to say though that Stampin' Up!'s new in-color, Rich Razzleberry is just divine! It's so beautiful and purpley. :)

I will definitely be buying way more than I will ever use of this color just so I can gaze upon it's wonderfulness everyday. I used the faux silk technique on this card; stamping the main image on white tissue paper with Rich Razzleberry ink, then crumpling it up, gently flattening it out again and then gluing to white cardstock.

The image and sentiment are from the retired Essence of Love stamp set. I also used Old Olive cardstock and Cottage Wall DSP to complete the card.


I used the same color scheme for this card and more Cottage Wall DSP. I inked the Upsy Daisy stamp with Pale Plum and then used a sponge dauber to add some Rich Razzleberry to it. The sentiment was stamped using Old Olive.

Enjoy!

Tuesday, November 3, 2009

Spread the Love

My daily reading list includes a fabulous blog, Understand Blue, owned by Lydia Fielder(Lydia is the artist that designed my blog banner.)

Because of Lydia's post Monday, I found out about a very special blog hop she is participating in this week, one that really hit close to home for me as I have a daughter the same age as Jaimie Cates. You can read Lydia's post and see her card here. To find out what this hop is all about, please go to the special blog that has been set-up to see how you can help Jaimie and her family.

Along the way, you will see some very talented and inspirational artists sharing their creations to help Spread the Love. If you have the chance, please send a card to Jaimie to let her know that there are people that care and wish her well.

My daughter wanted to help make a card for Jaimie, so this is what we came up with...

She water colored the flowers and butterfly and popped the large flower and butterfly on dimensionals. It's hard to see, but she also used Twinkling H2Os on some of the flowers. We wanted to keep it simple yet cheerful. I think she did a great job!!


Kym